If you've been keeping up with the latest nail art trends, you're probably familiar with the fabulous caviar manicure! For those of us who are new to the nail art scene, you are probably imagining some fancy fish eggs resting on top of a perfectly polished nail. Gross right? Thankfully, the caviar manicure consists of just some really pretty microbeads that look like the fishy treats. A new take on 3D nail art, the caviar manicure has made a comeback for the holiday season. This trend first gained popularity in the spring, and dwindled out during the summer months. Perfect for a holiday party, this nail trend can act as a great accessory! The only downfall is that it doesn't seem to have much staying power. Holding strong for only about a day or two, the caviar manicure is definitely not meant for everyday use. I picked up the Ciaté Caviar Mini Bar kit from Sephora, so if you are looking for a fun gift for the beauty obsessed friend on your holiday list, you might want to stop in and snatch up a kit before they run out! For the crafty fashionista, you can just head to your neighborhood craft store and pick up microbeads in different colors for a fraction of the cost. I recommend Martha Stewart microbeads because you get lots of bright colors while also getting a great value. A great DIY project, this is one trend that doesn't have to cost you a fortune! If you haven't already given this trend a try, I would definitely recommend it!
Caviar Manicure Trend
Ciaté Caviar Mini Bar Kit $29.00 (Sephora)
It comes in a cute little box! Perfect for gifting!
You get four base nail colors!
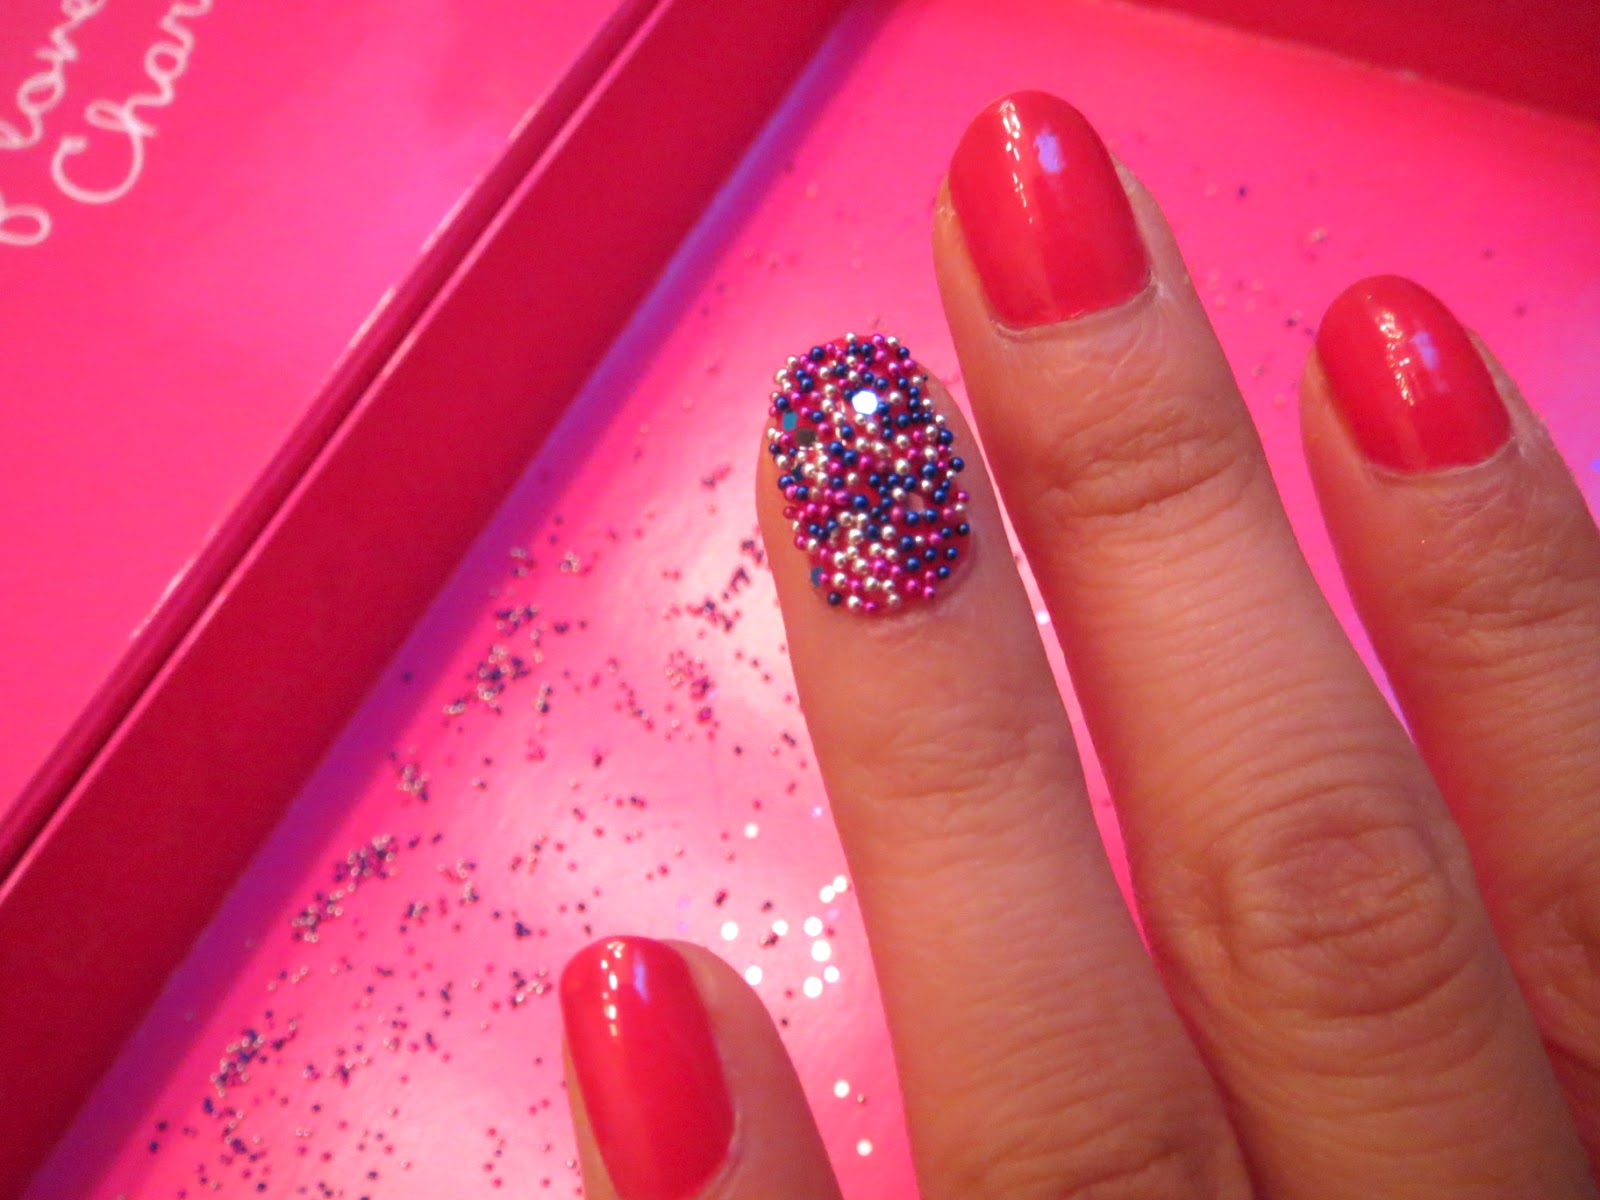
The kit also comes with four different varieties of colored glass microbeads that correspond with the base coats
Caviar Manicure Instructions:
1.) First apply a base coat of nail polish (any color) and let it dry completely
2.) Doing one nail at a time, apply a second coat and sprinkle on some beads over the wet nail
3.) The beads are attracted to the polish, so they stick really well
4.) Gently pat the beads into the polish for extra staying power
5.) Let your nails dry for fifteen to twenty minutes
6.) Using a topcoat of your choice, apply one coat only on the tips (like a french manicure)
7.) Enjoy!
Sprinkling on some beads
The kit even comes with a mini funnel to put the unused beads back into the pots
Inspired? Look for these items here: